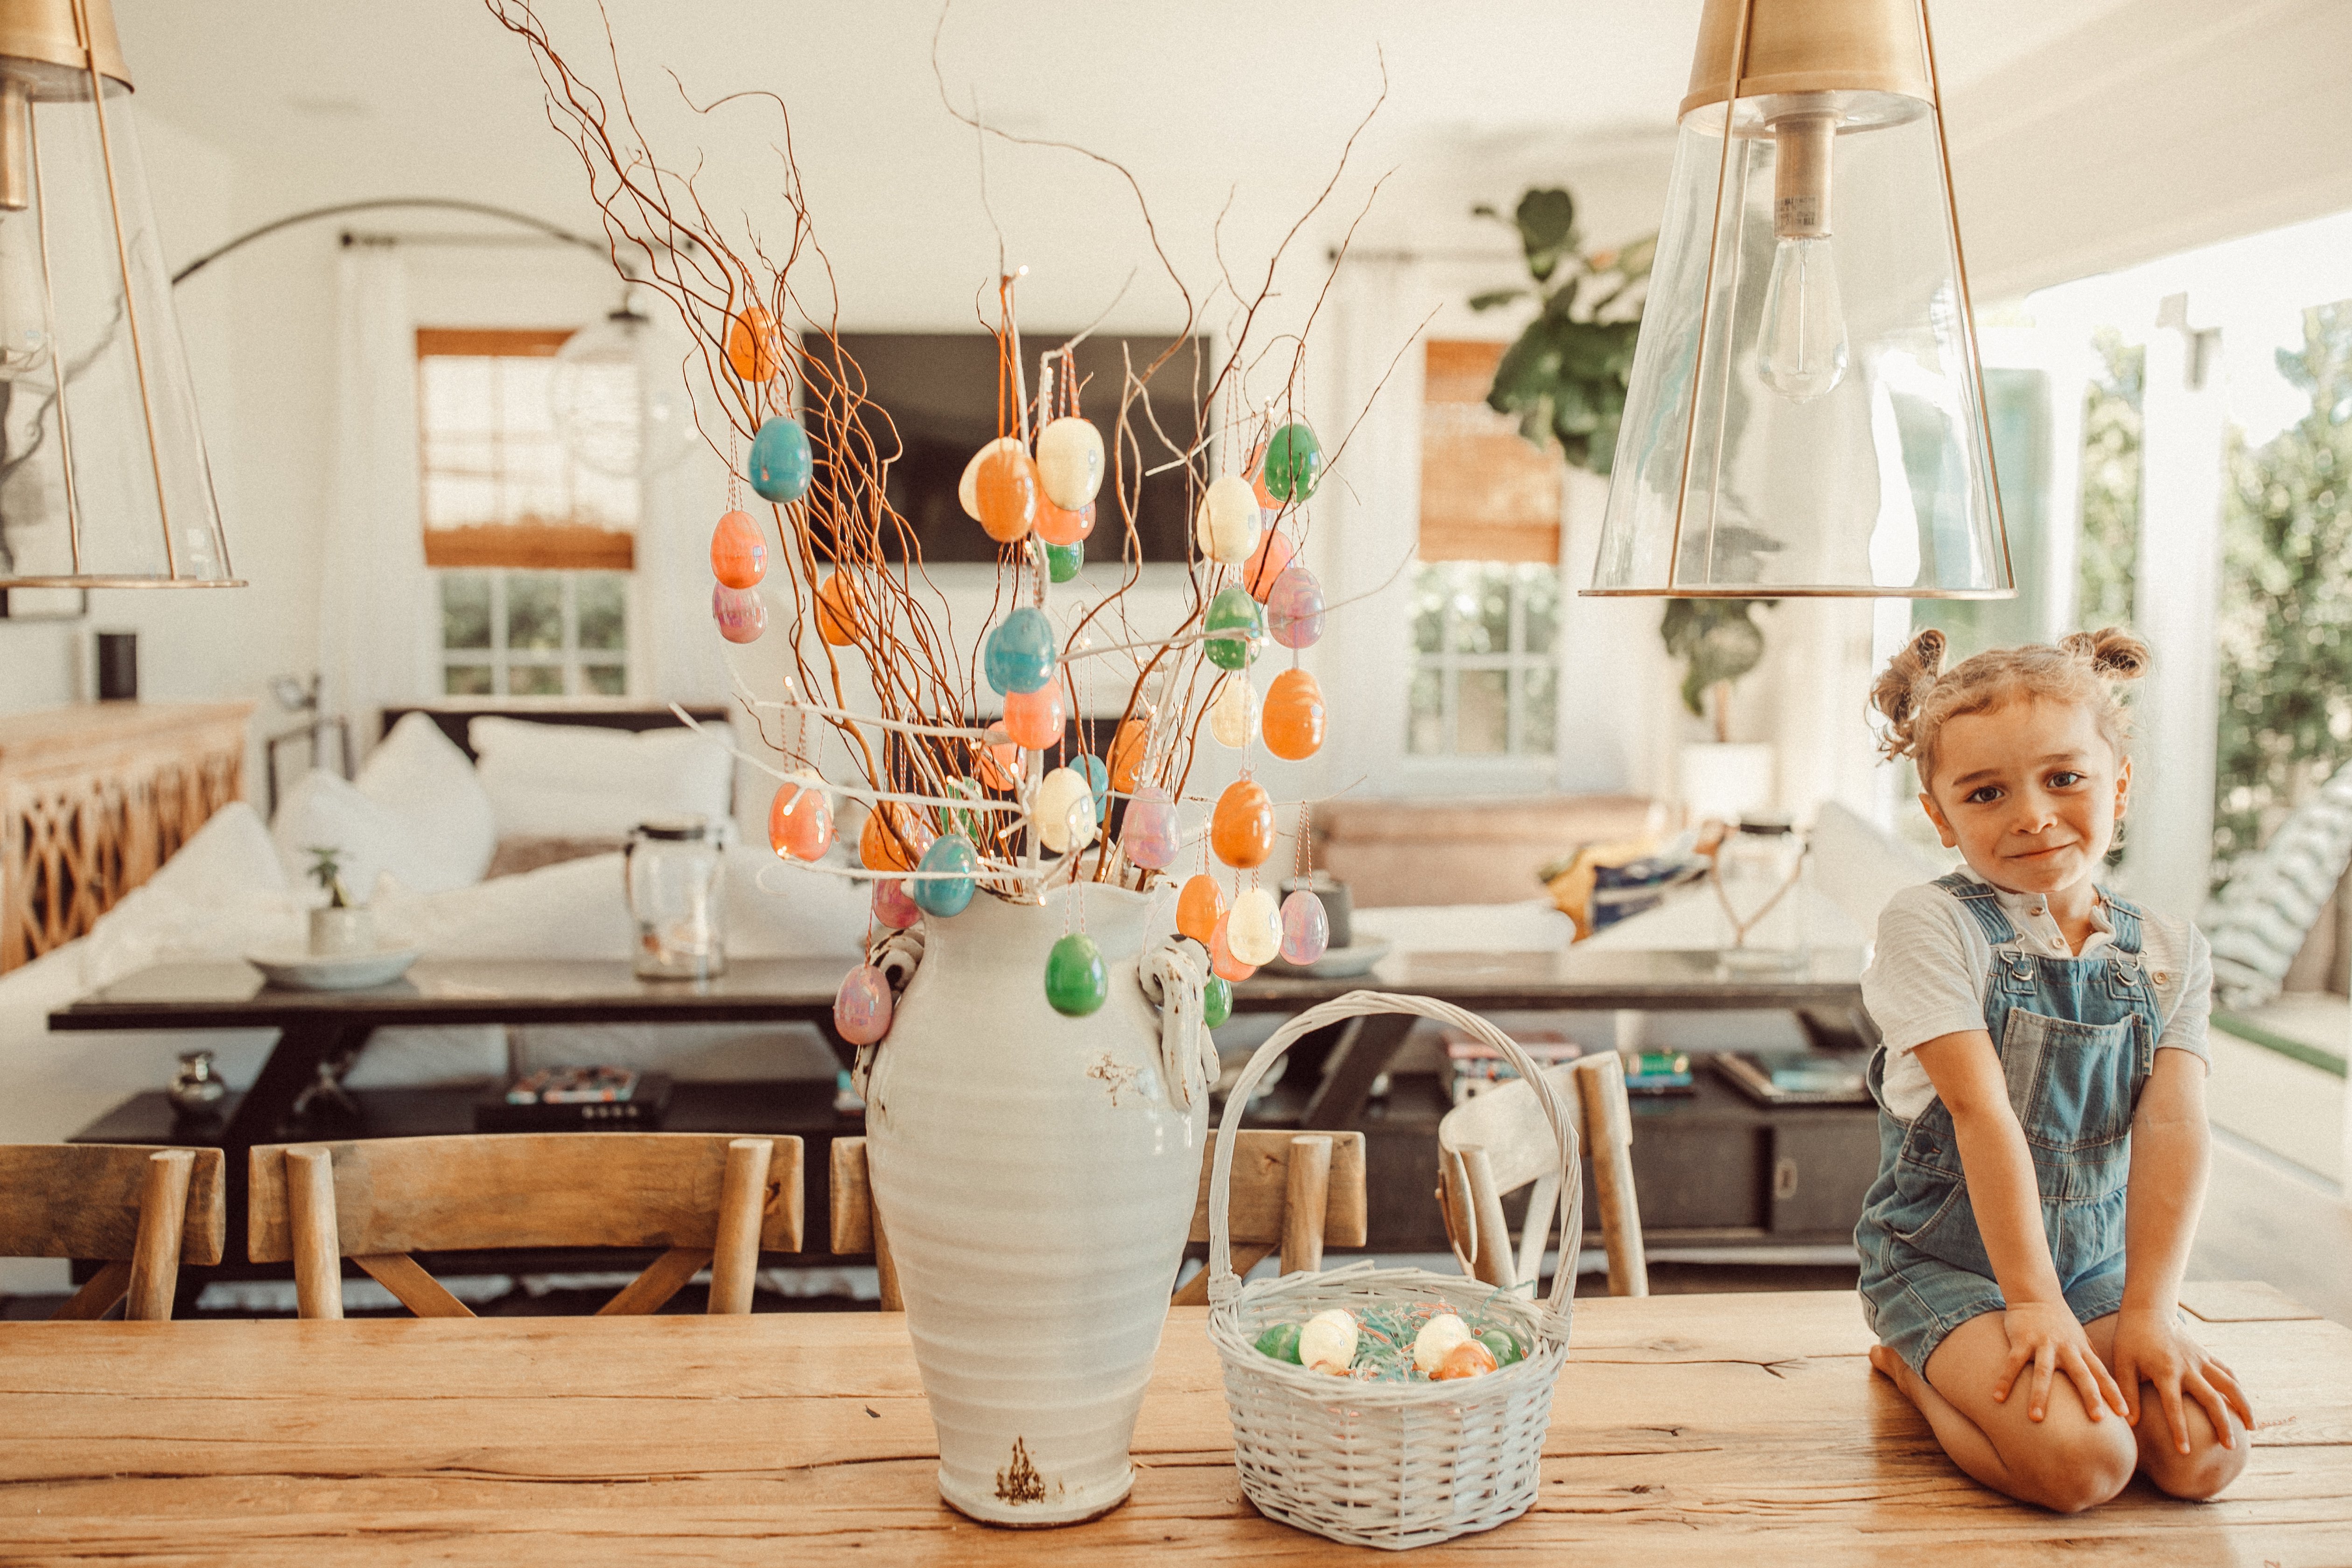
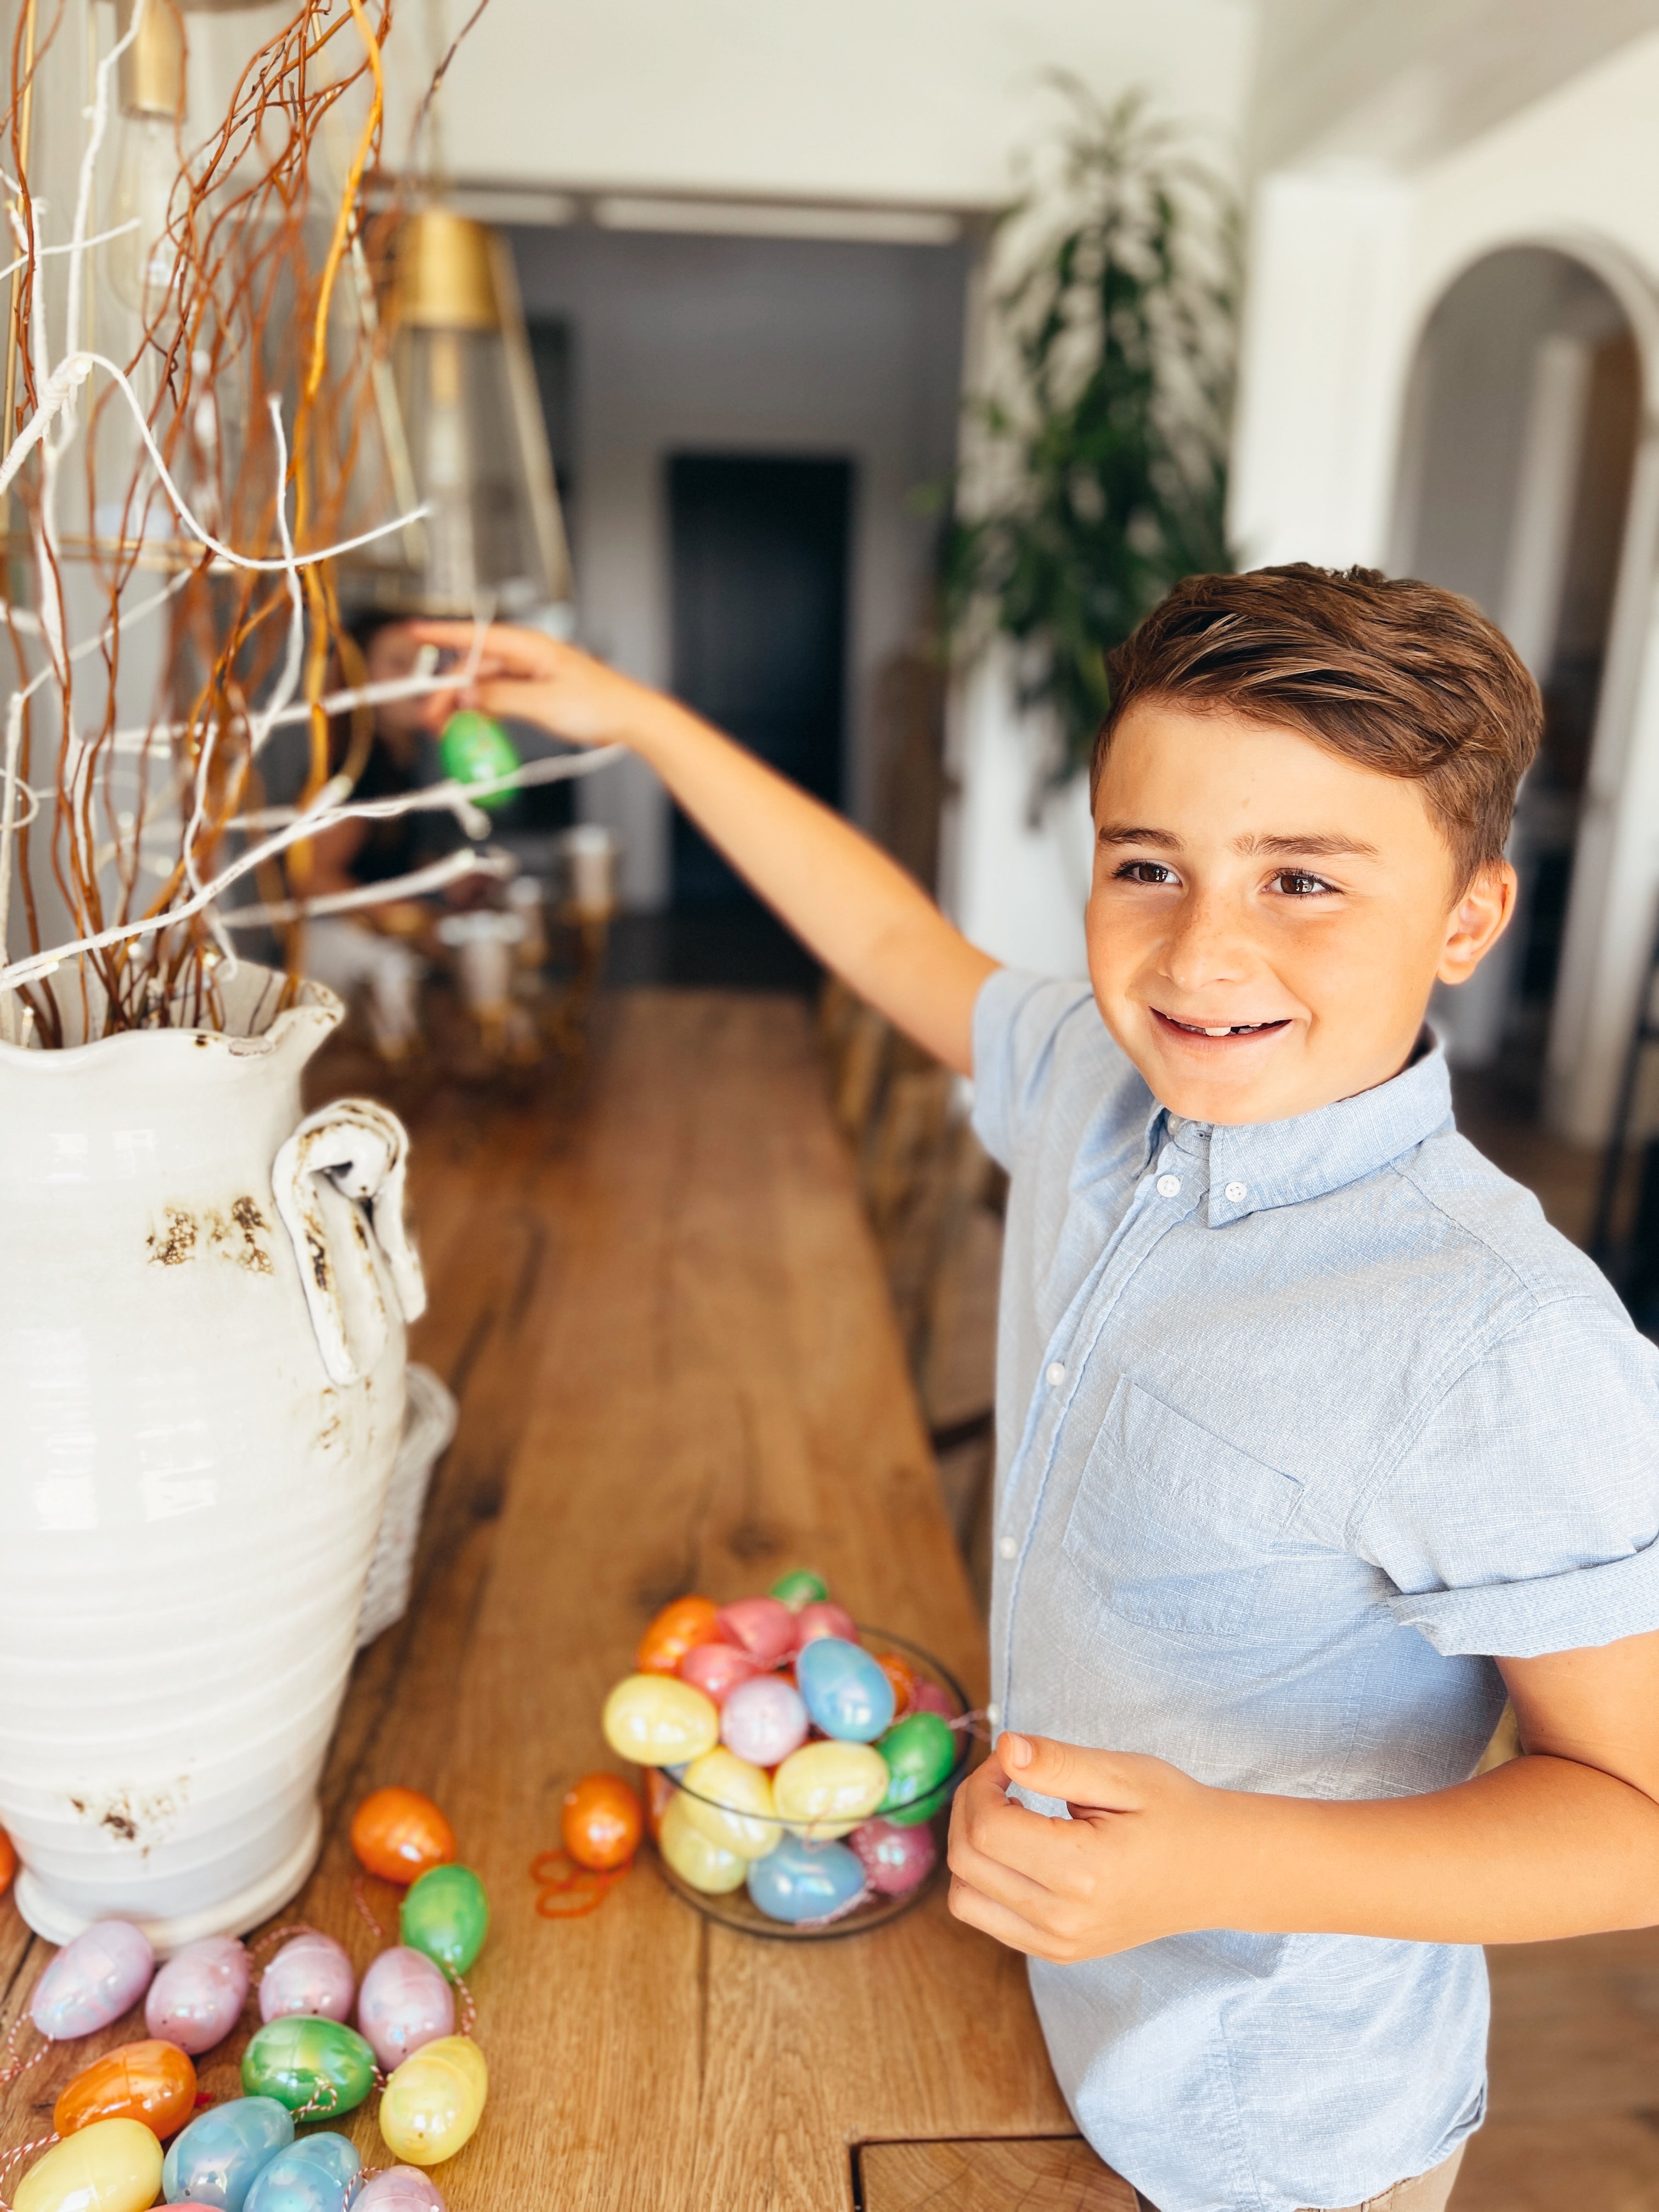
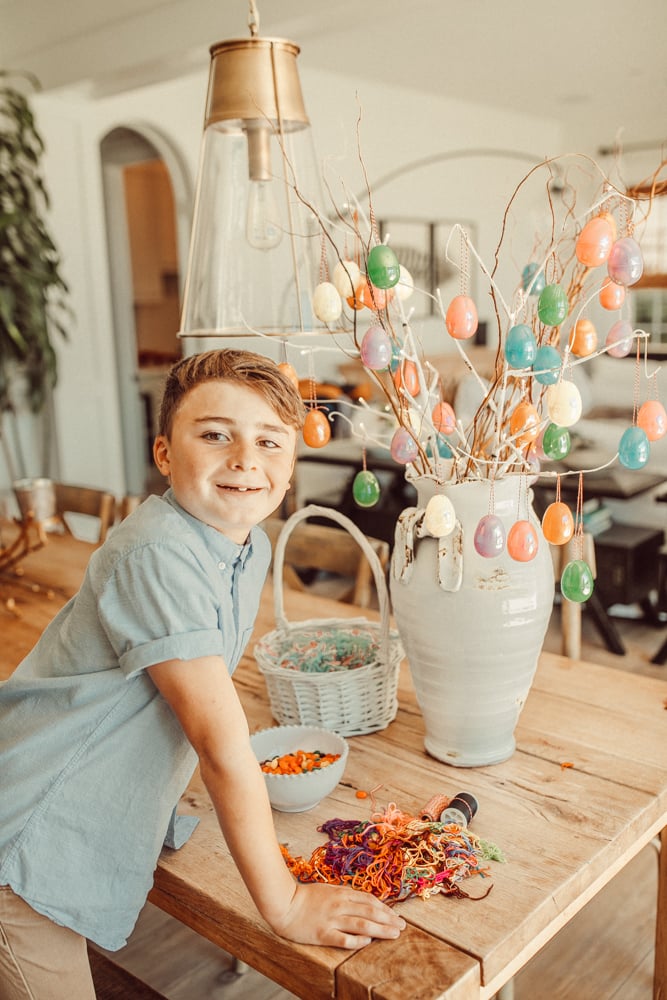
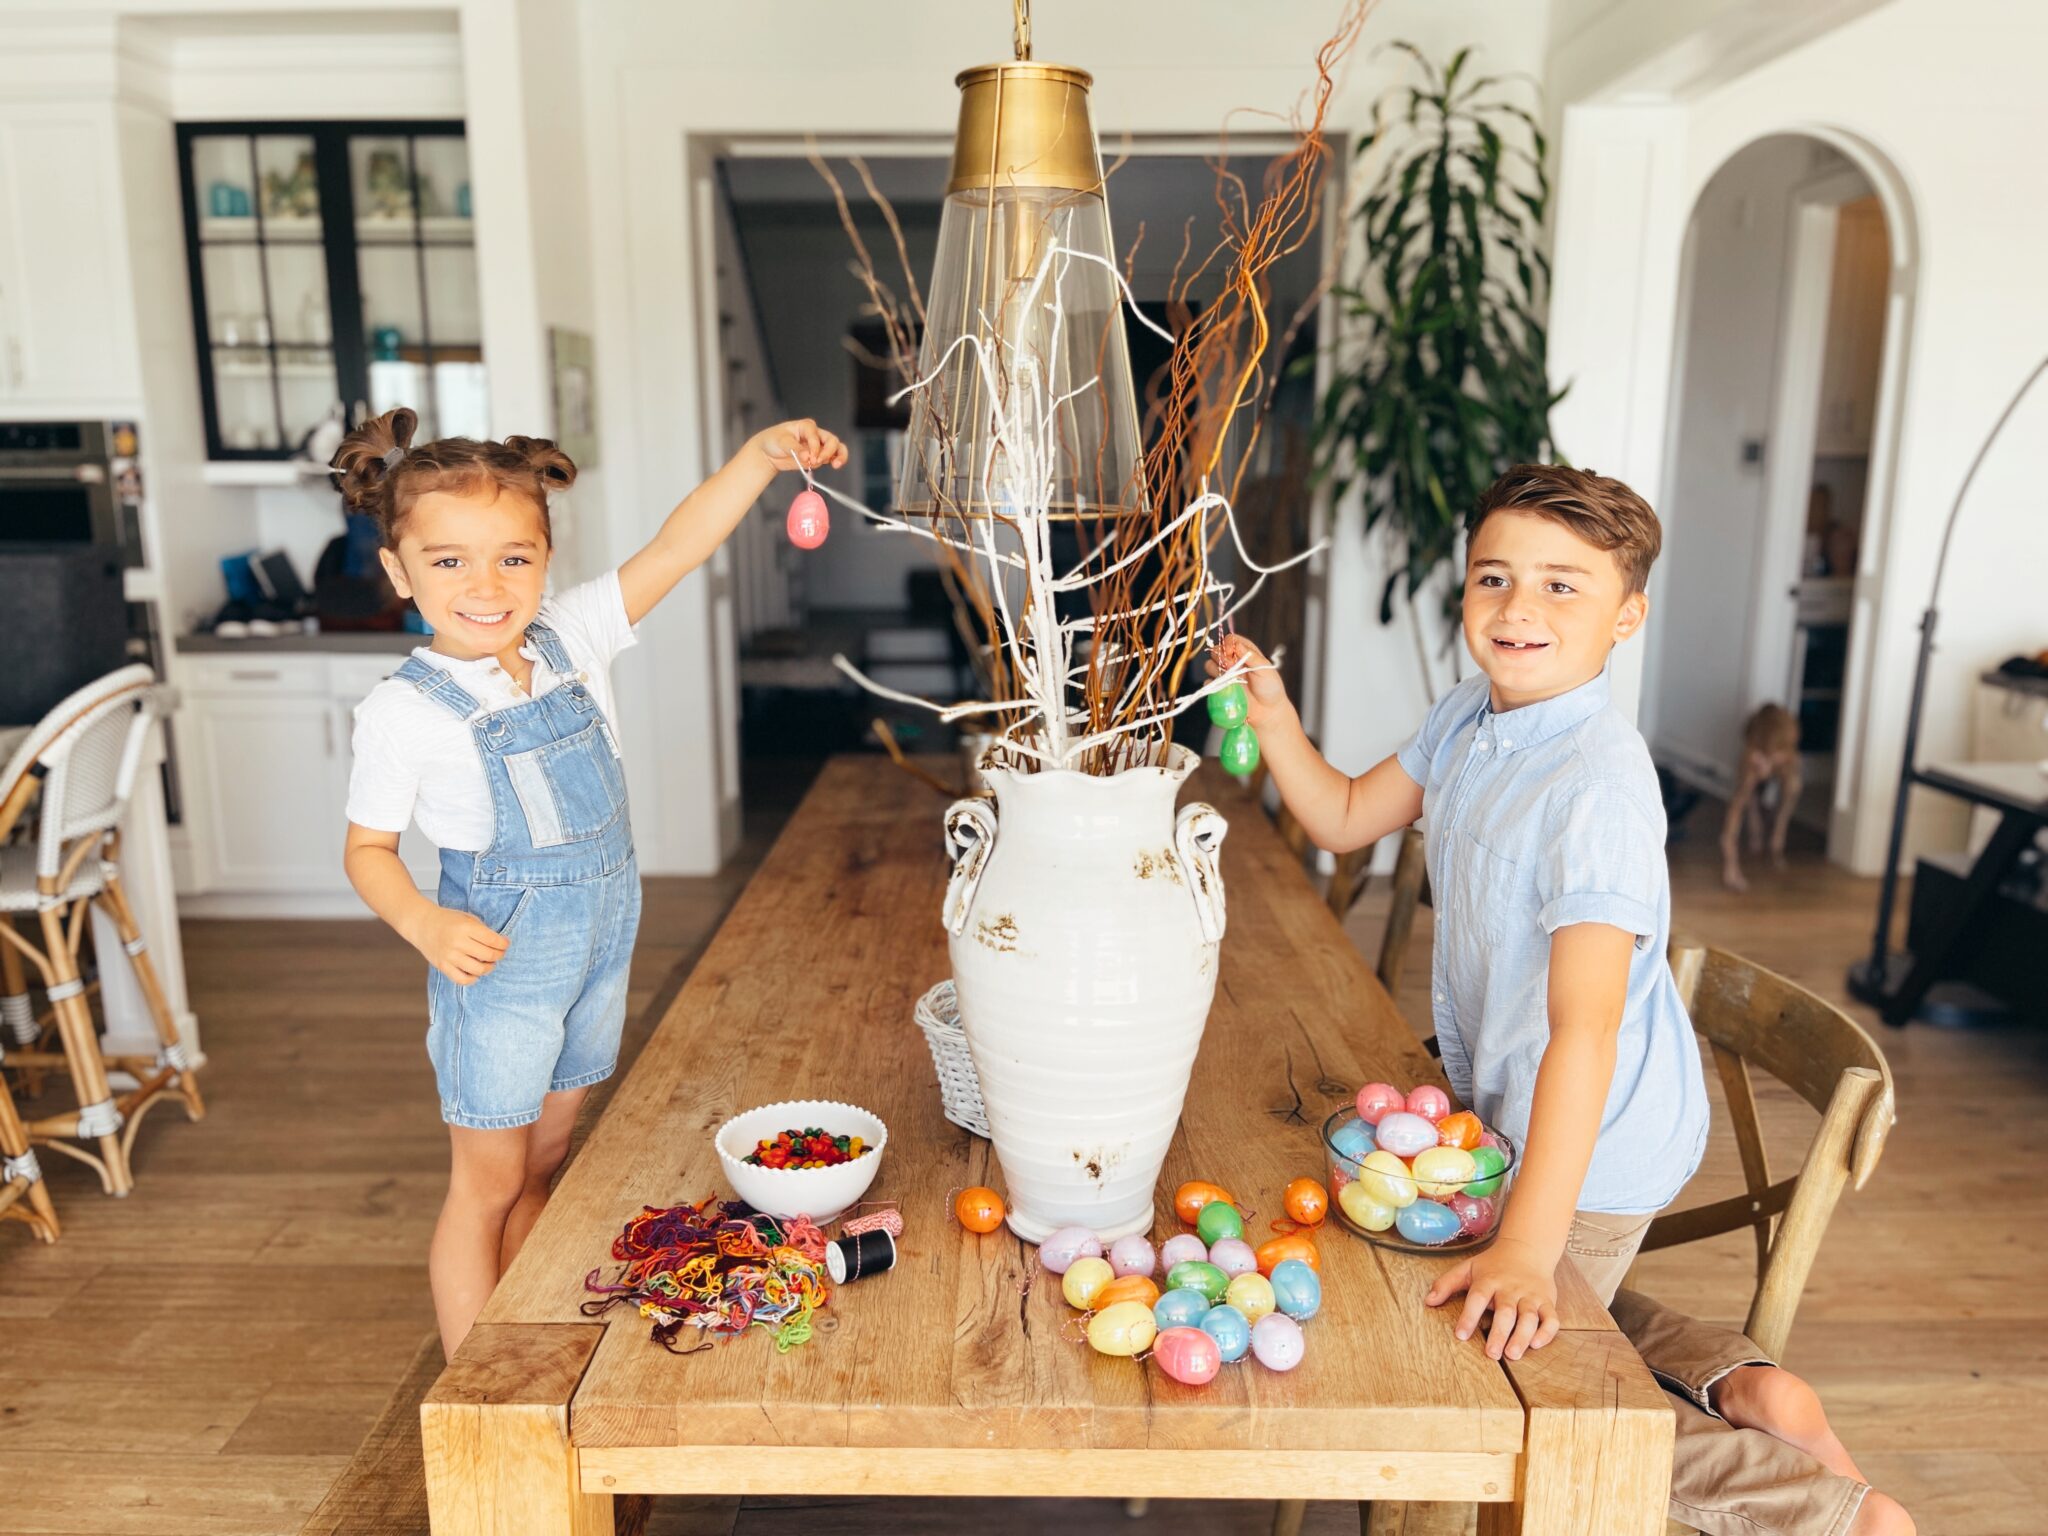
During the pandemic, so many of the holidays that were usually all about fun and family were put on hold. But that just means we created new holiday traditions in their place. And now, they’ve become a normal part of our holiday. Last year, a friend of mine in North Carolina made this epic Easter egg tree so I thought we too would give it a try. I dug through my basket of craft supplies and grabbed some string, sticks, and glitter, and got creative. Say hello to our Easter egg tree!
I wanted to find a craft that would take up a lot of our extra free time (this one takes over five hours!) and give my kids something fun to do. (This way, maybe mom could get a little free time too!) This Easter egg tree does the trick. Tying the knots alone can take hours for little fingers, and depending on how much you decorate, you’re looking at an all-day project! Follow these five steps for a fun Easter craft your kids will love…your fingers not so much.
Old superstition held that if you wore new clothes on Easter, you would have good luck for the rest of the year.
Find Your Tree
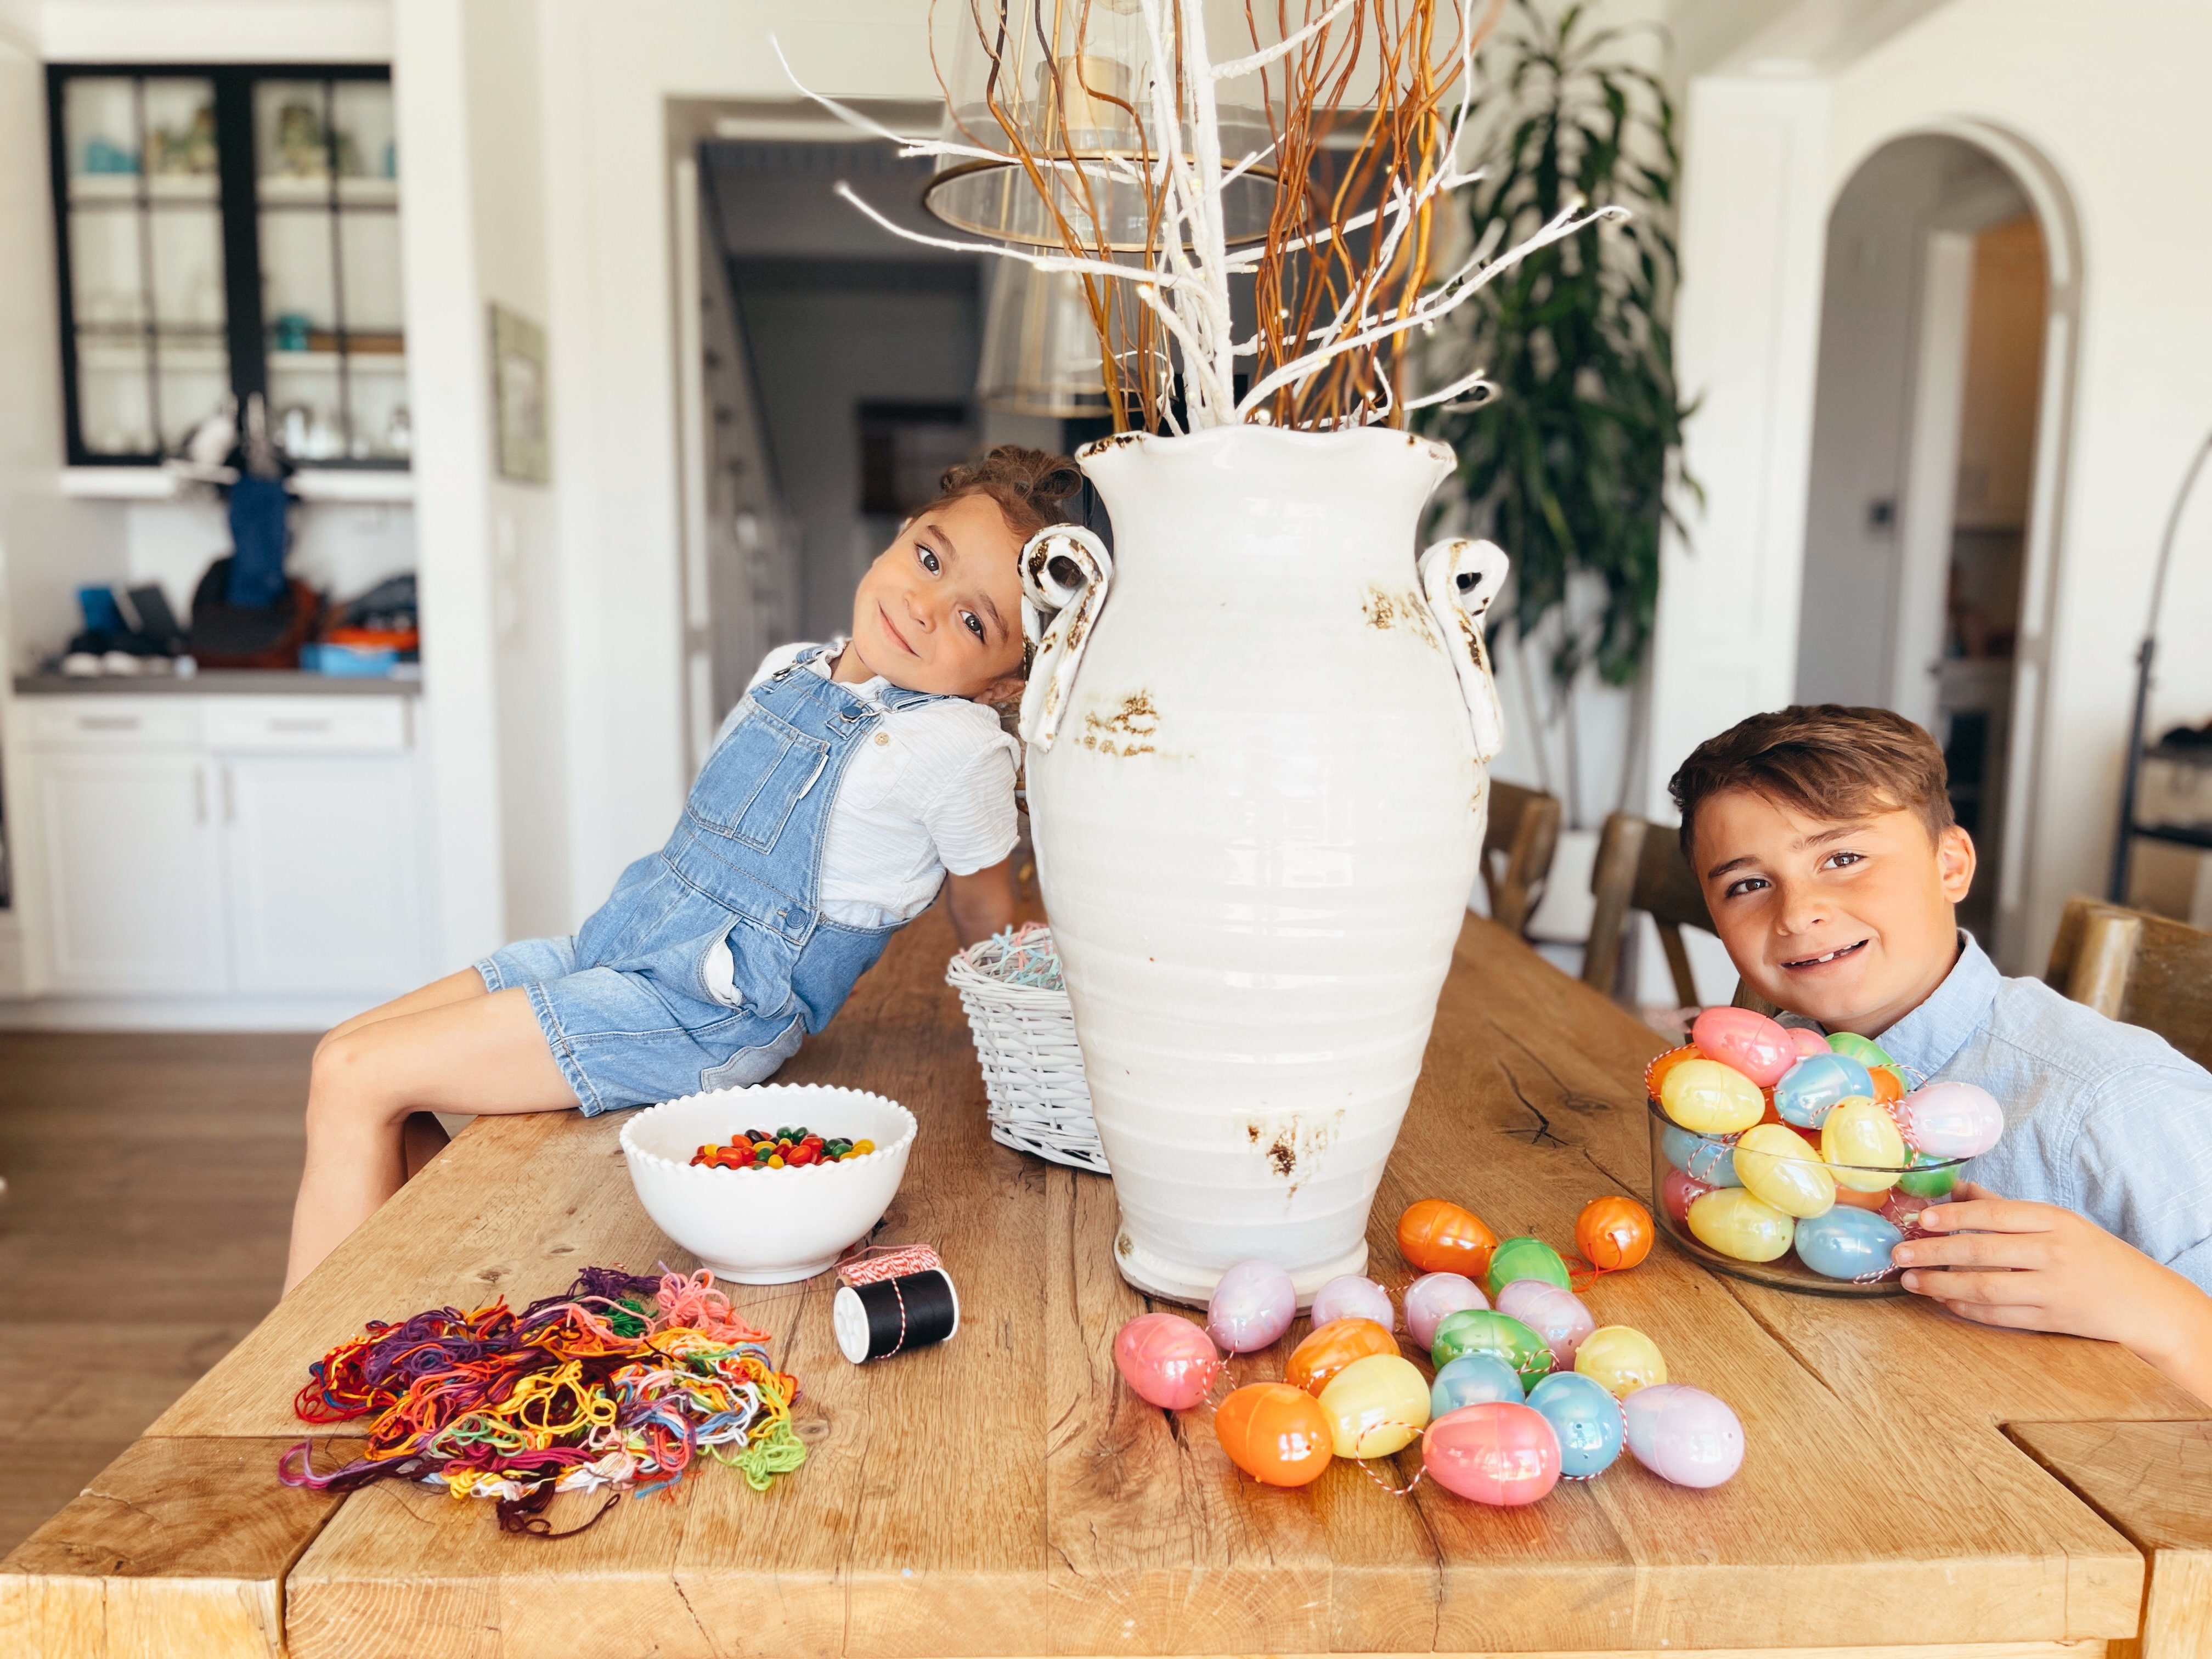
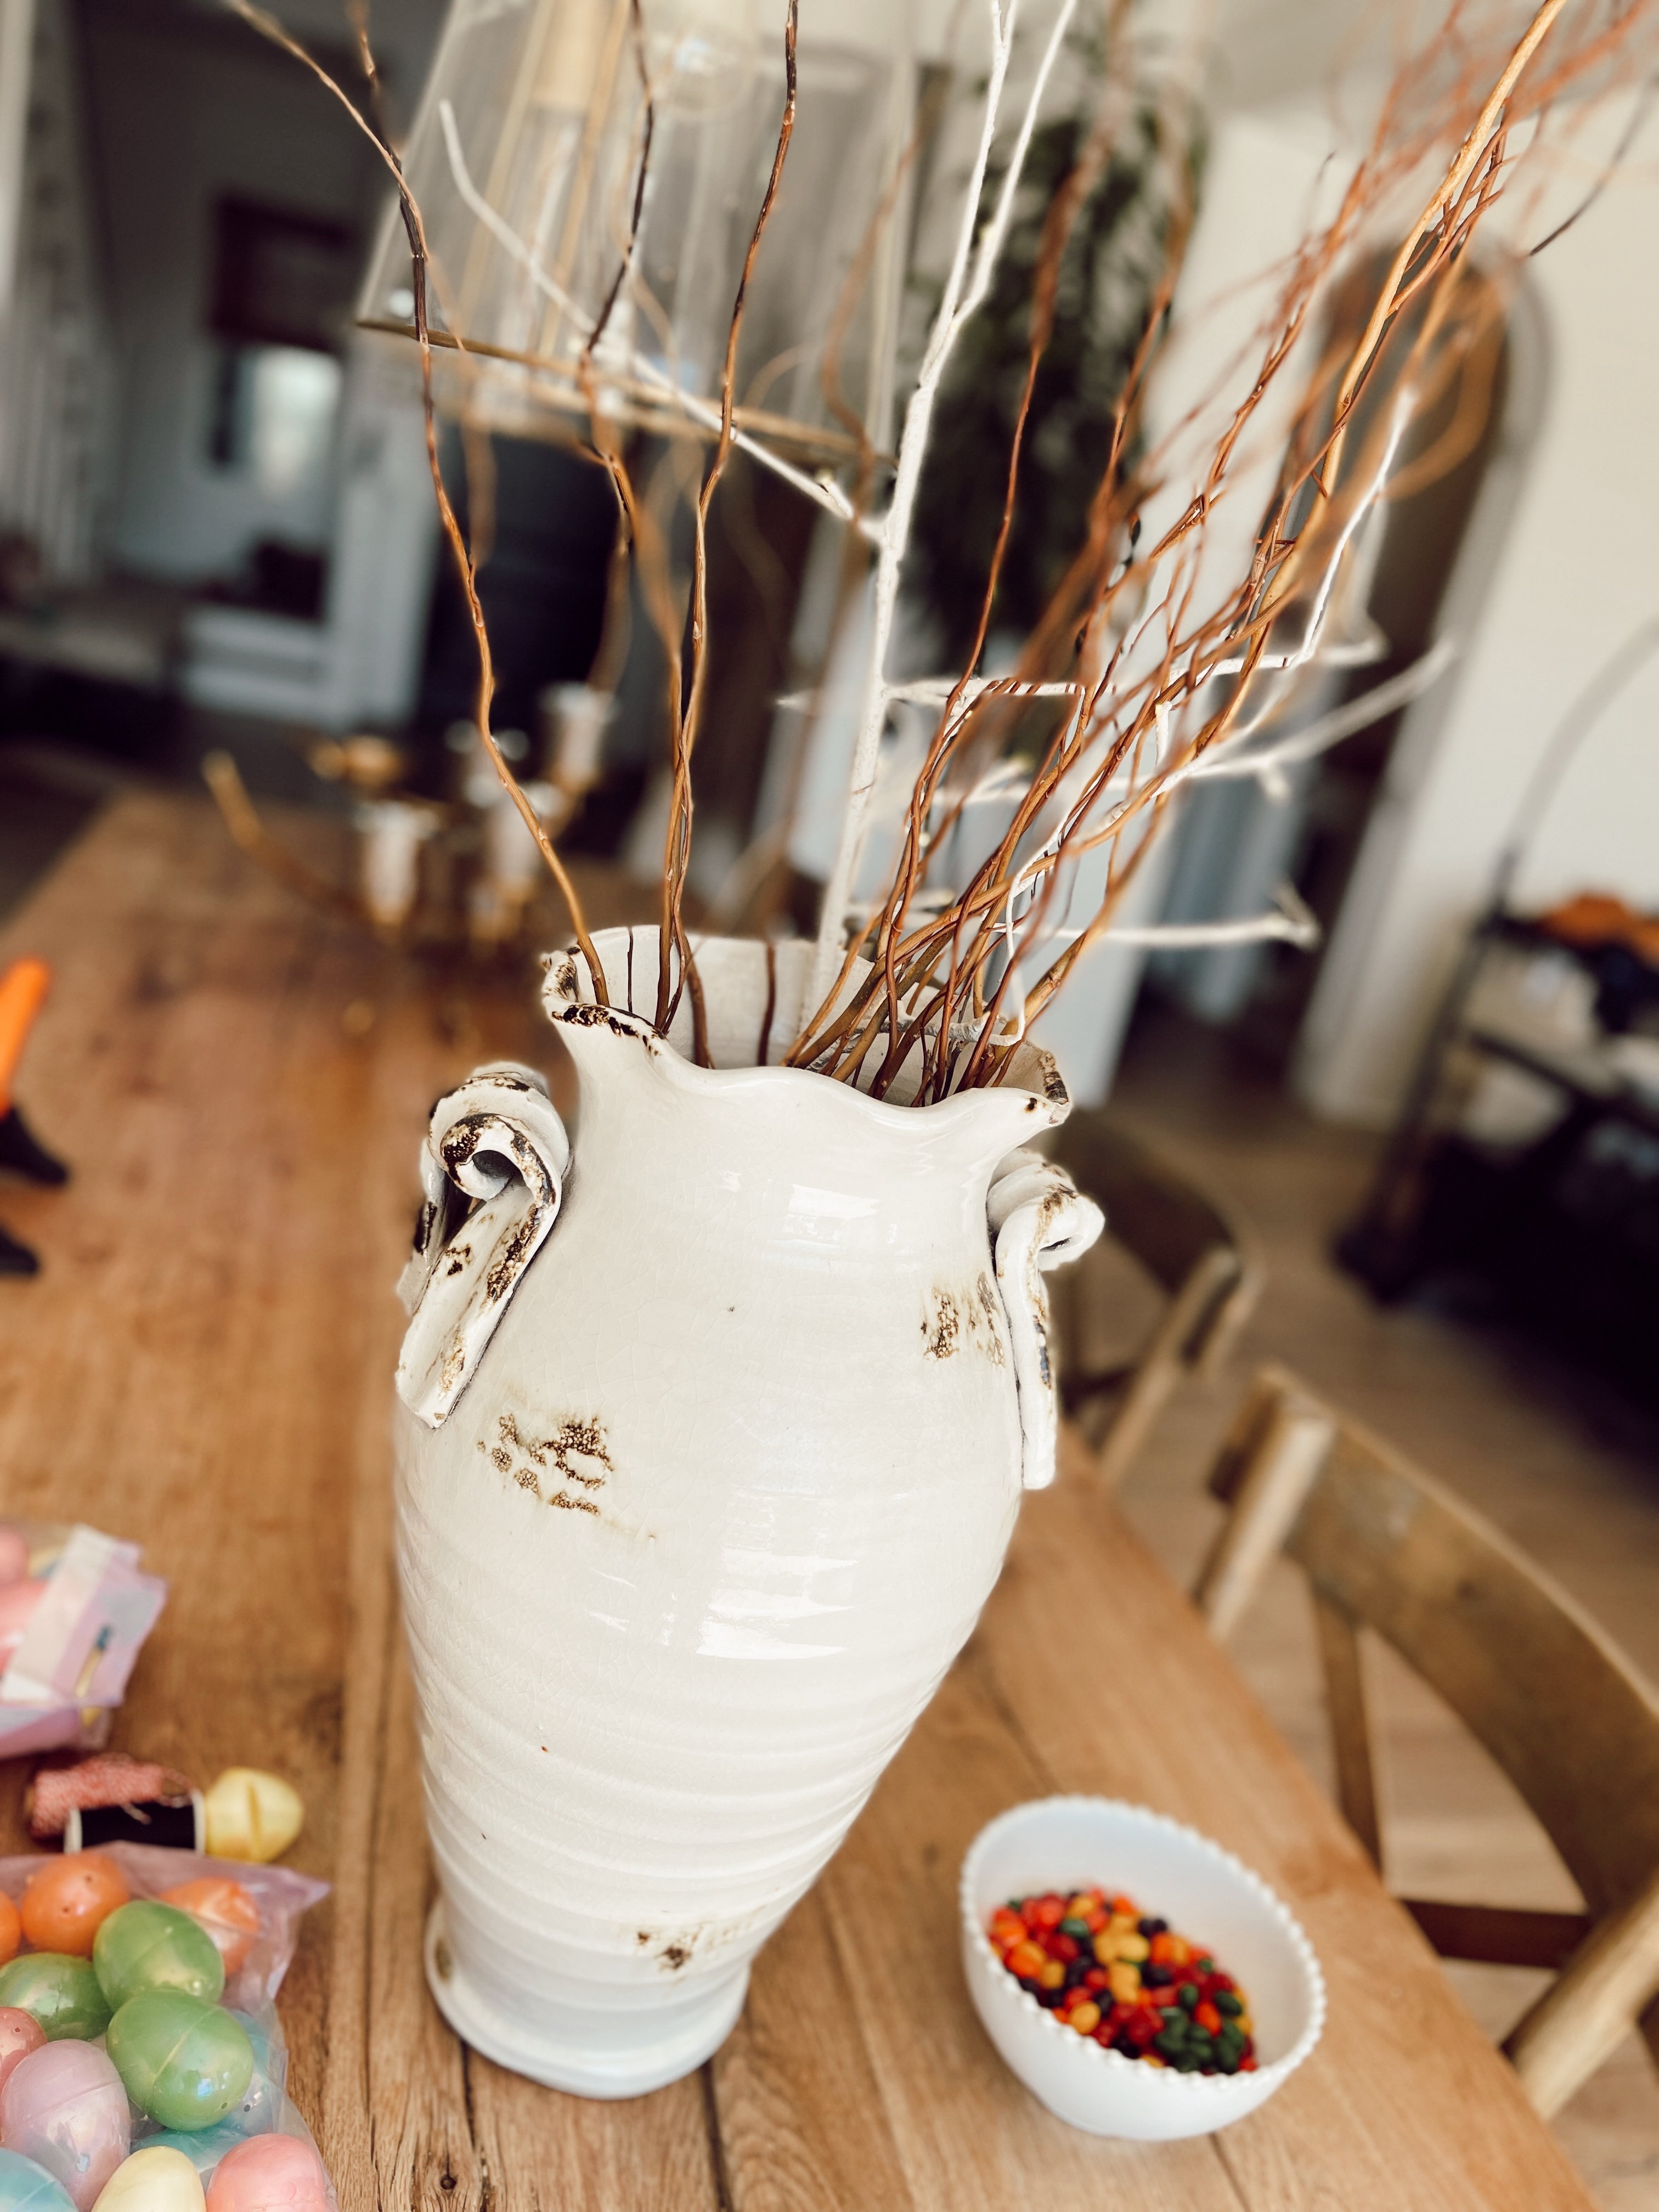
First things first: you need a tree! Pile up the kids in the car and head out to the park or nearby forest to grab lots of big, thick sticks and branches. Or if it’s easier, order a few twigs and branches from Michaels. I had some light-up branches from Arhaus that I use each year for spring decoration, so we used those!
Get Your Vase Ready
Next, you’ll want to find a vase to put all your branches in. You’ll want a bigger vase for larger branches or you could use a smaller one if you have little twigs. I just used a vase we already had around the house. If you don’t have an extra one, you could also use a plant pot or old coffee can.
If you want to get super creative (and tack on a few hours of crafting time) you can have your kids decorate the vase! Wrap a coffee can or jar with construction paper. Then decorate with markers or grab some fun Easter stickers. If you have leftover glitter from Valentine’s Day, now is the time to use it up!
Check out more Easter craft ideas on the City Girl Gone Mom Pinterest board!

Prep Your Eggs
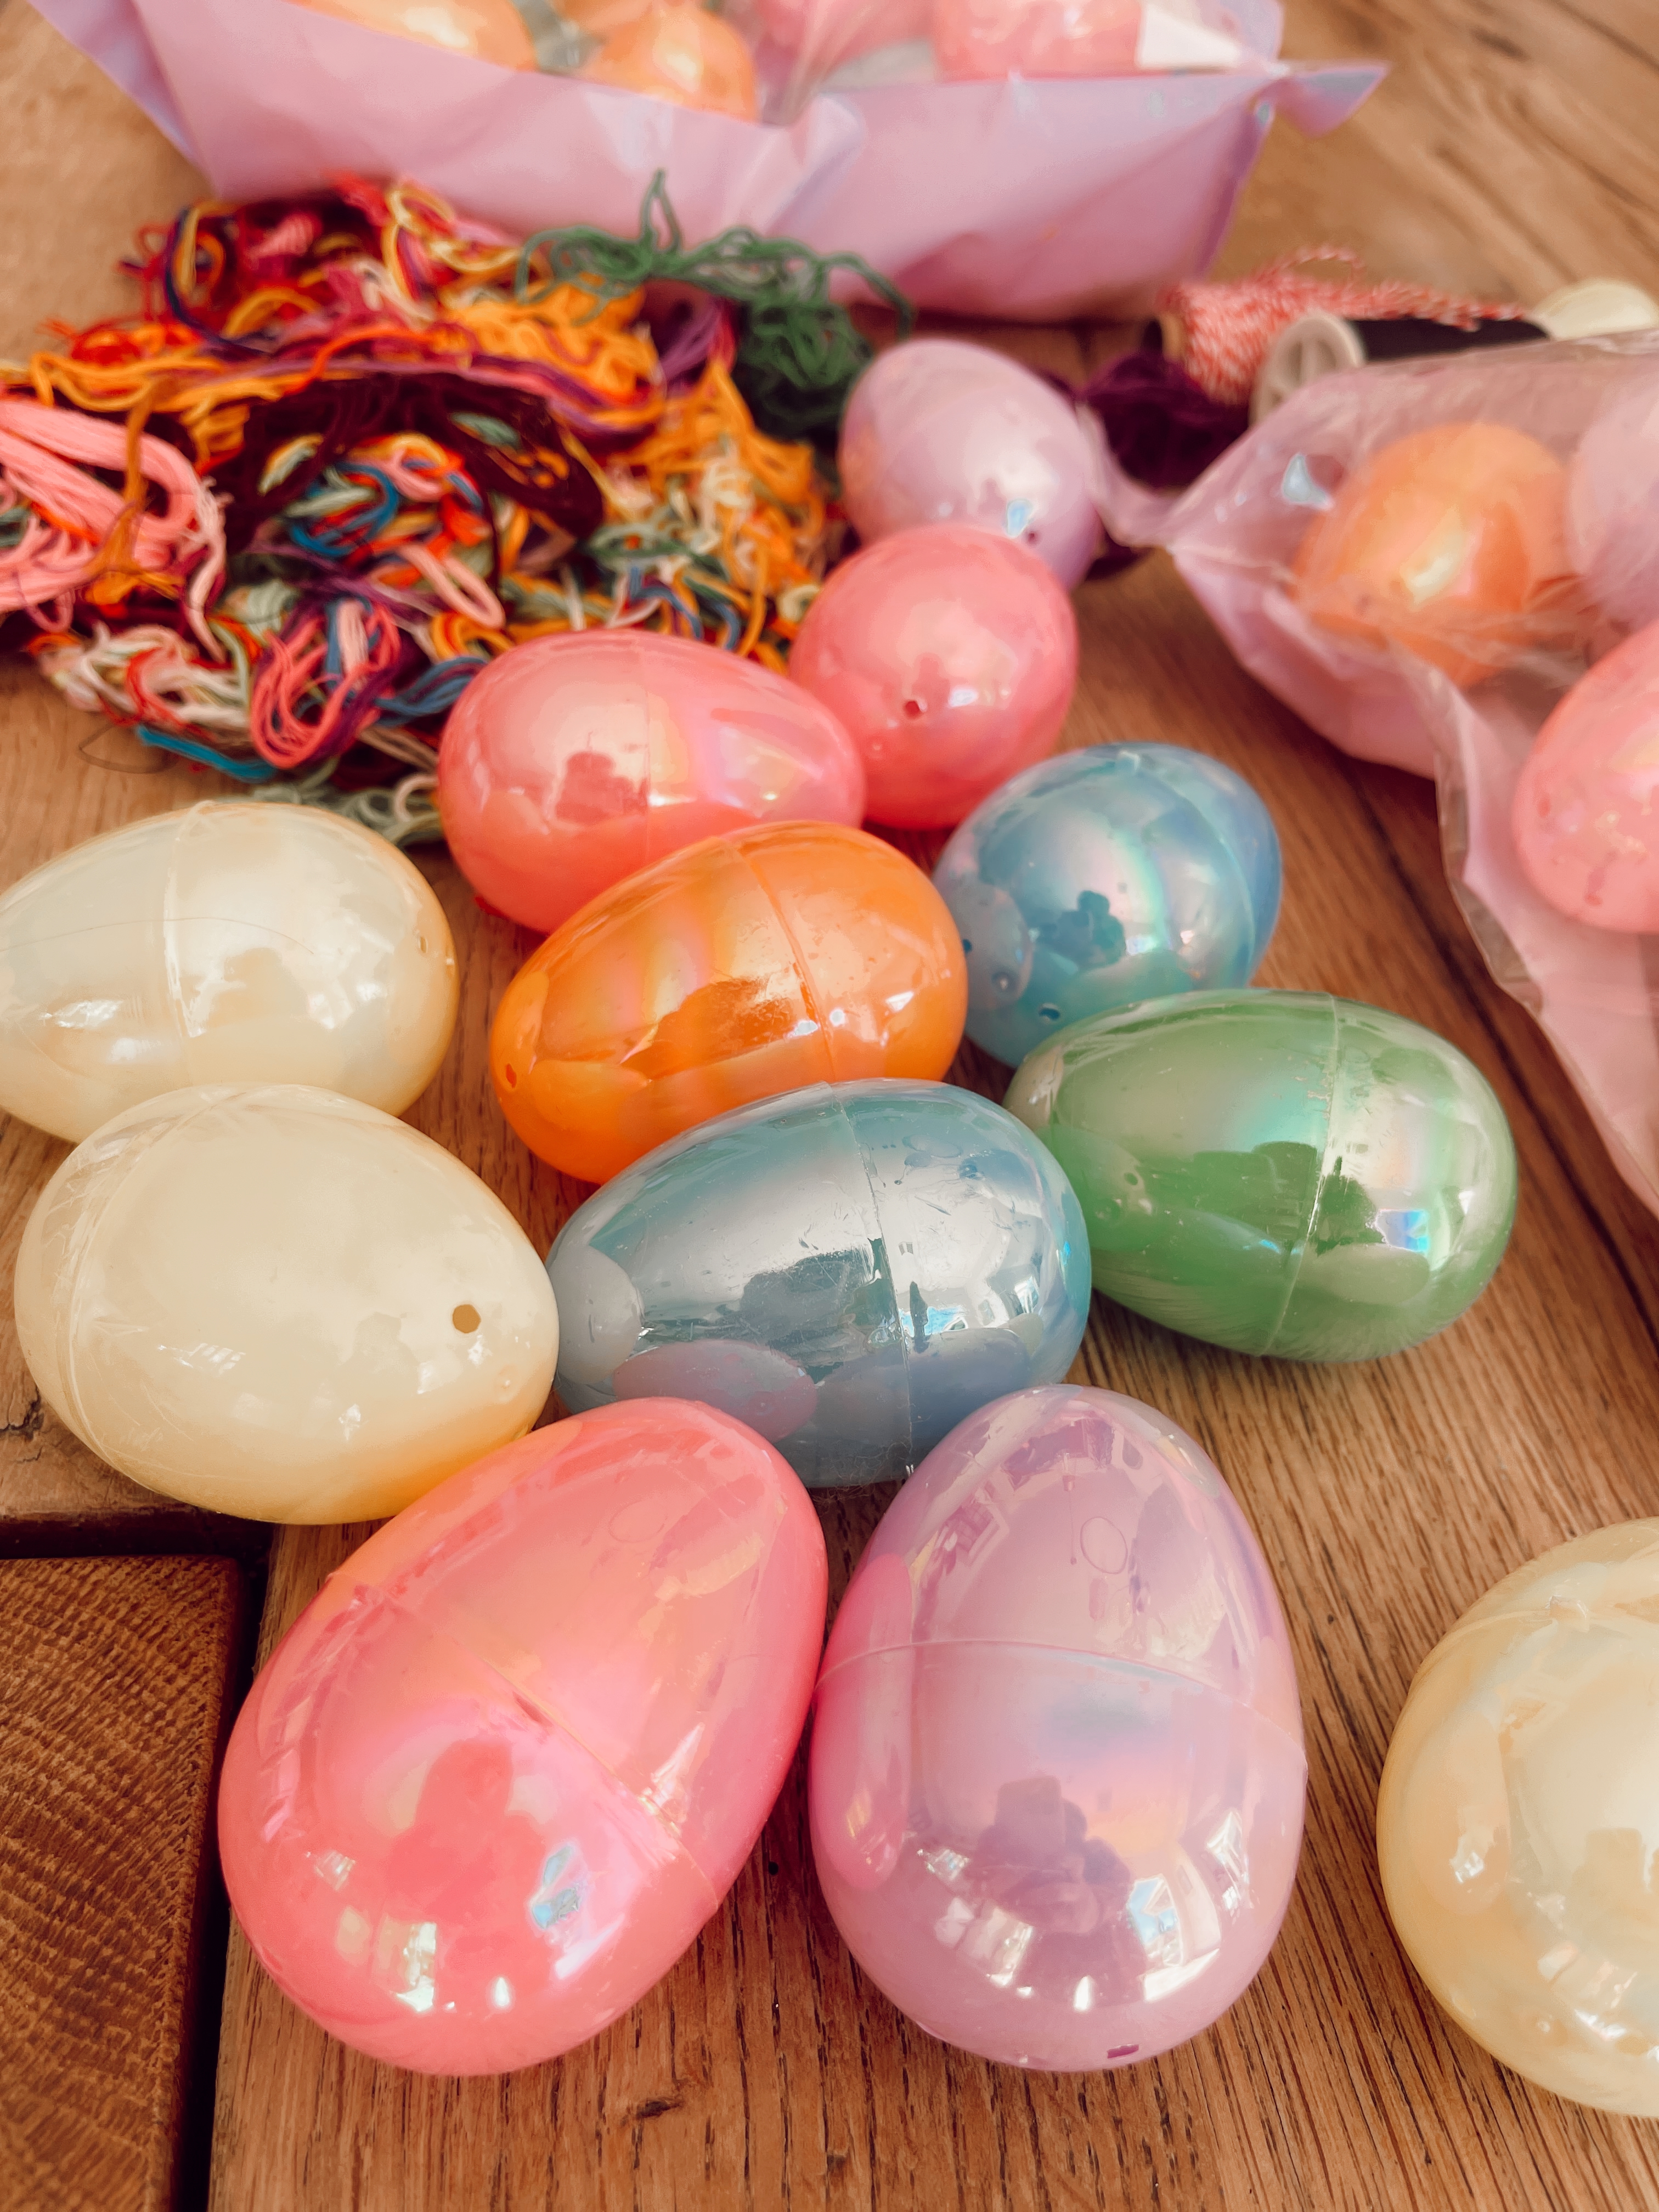
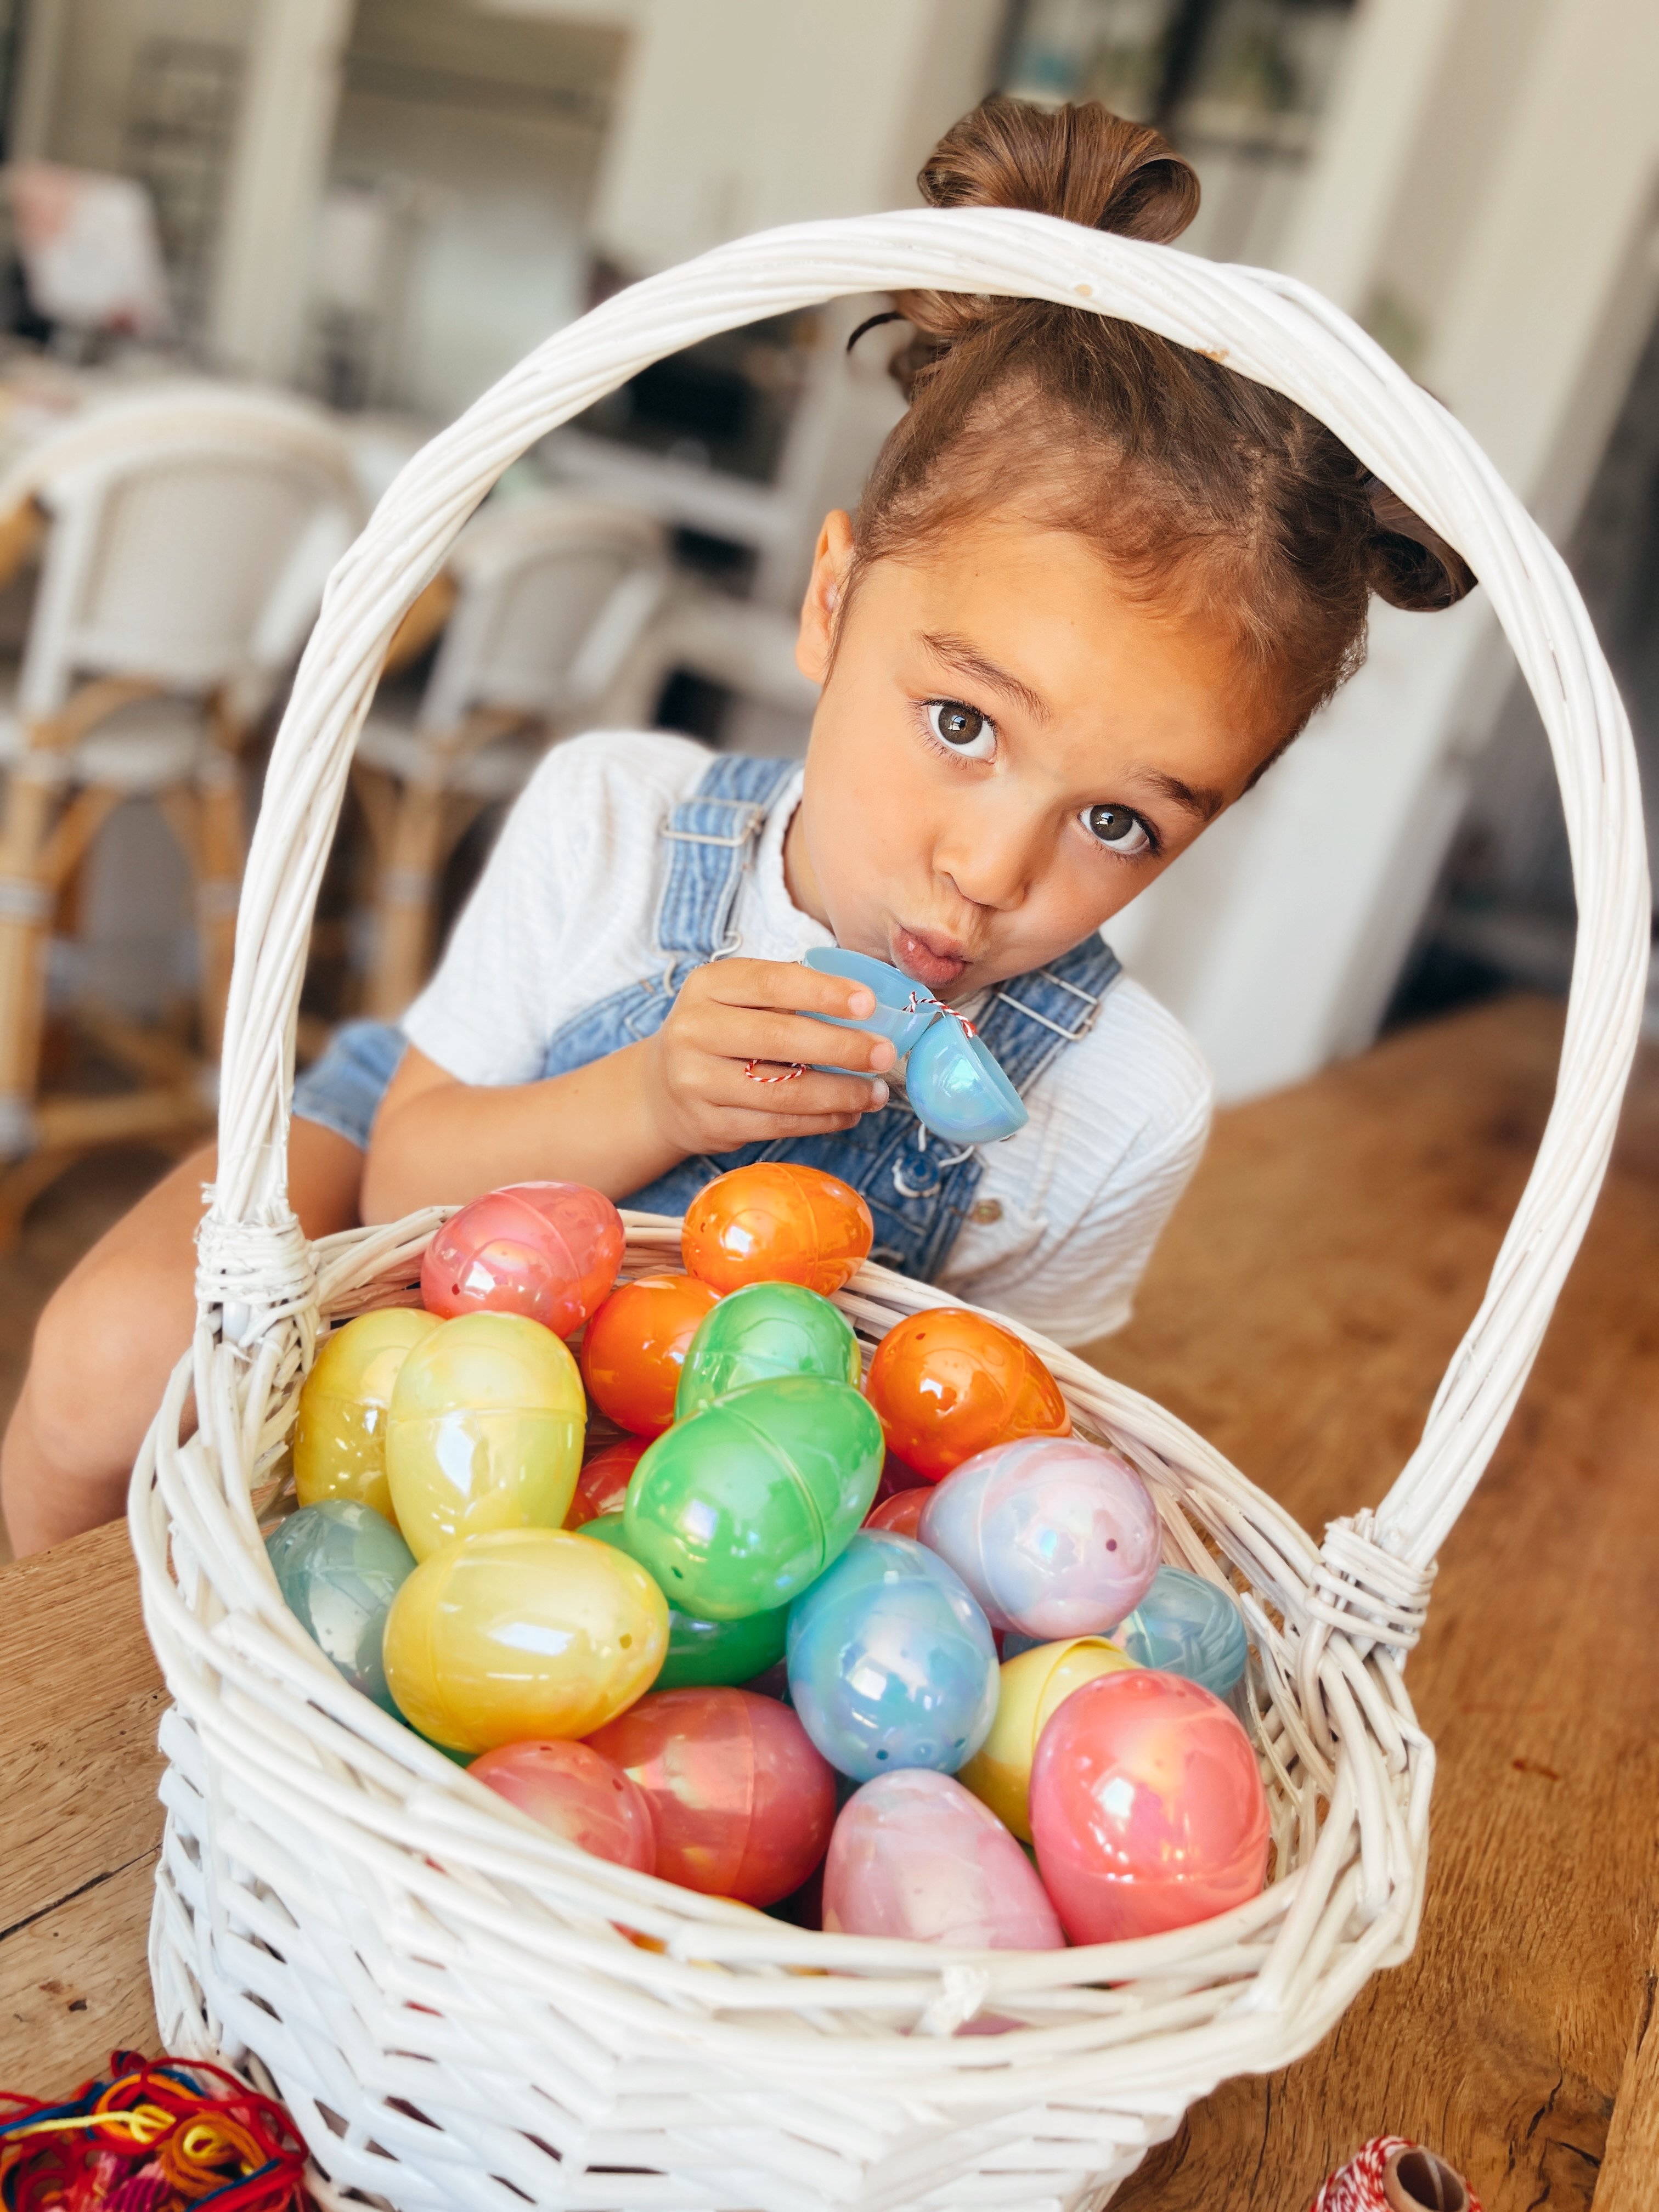
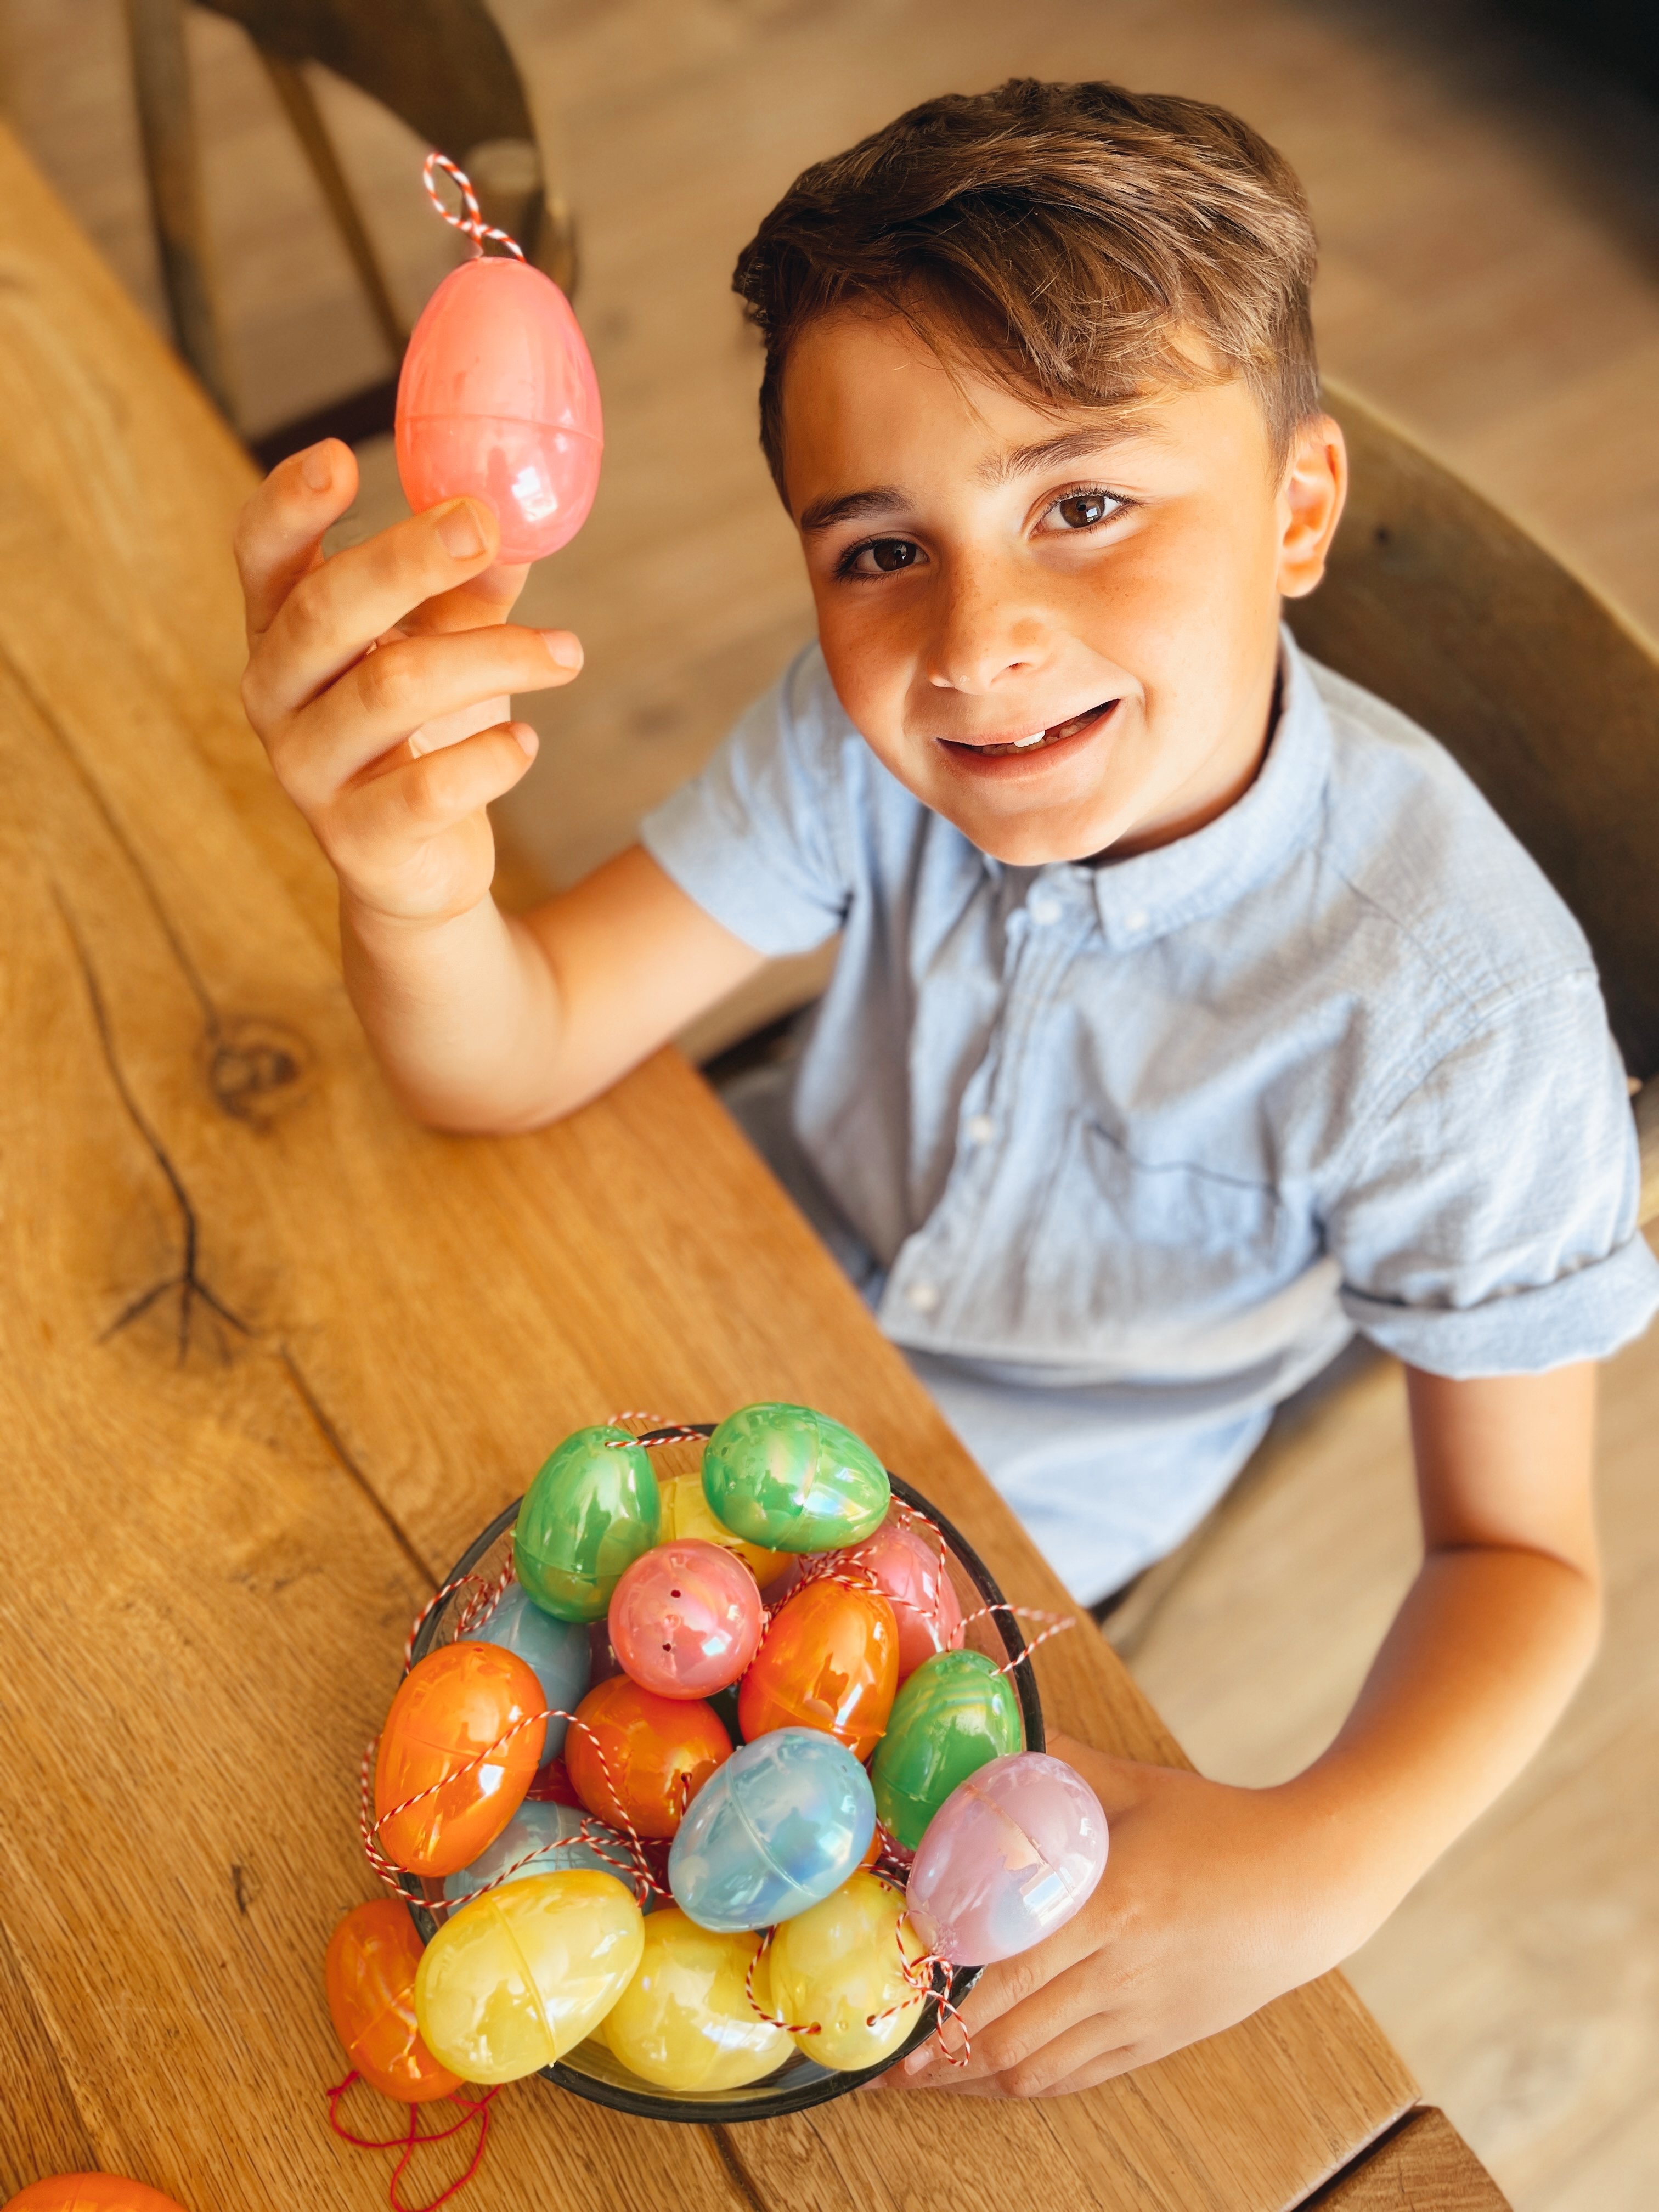
Time to string some plastic eggs! Most of these colorful Easter eggs also have small holes in them that you can use to attach string! So buy any color and size you want then cut strings to equal length and string them through to make a little loop!
When choosing your string or yarn, I recommend letting the kids pick their colors, cut the string (with supervision!), and tie the knots. It took my kids about an hour to tie all their strings to their eggs and mom had time to answer a few work emails!
The idea of the Easter bunny giving candies and eggs is said to have originated in Germany during the Middle Ages. Dutch settlers in Pennsylvania brought the bunny to the United States in the 1700s.

Fill With Fun Treats
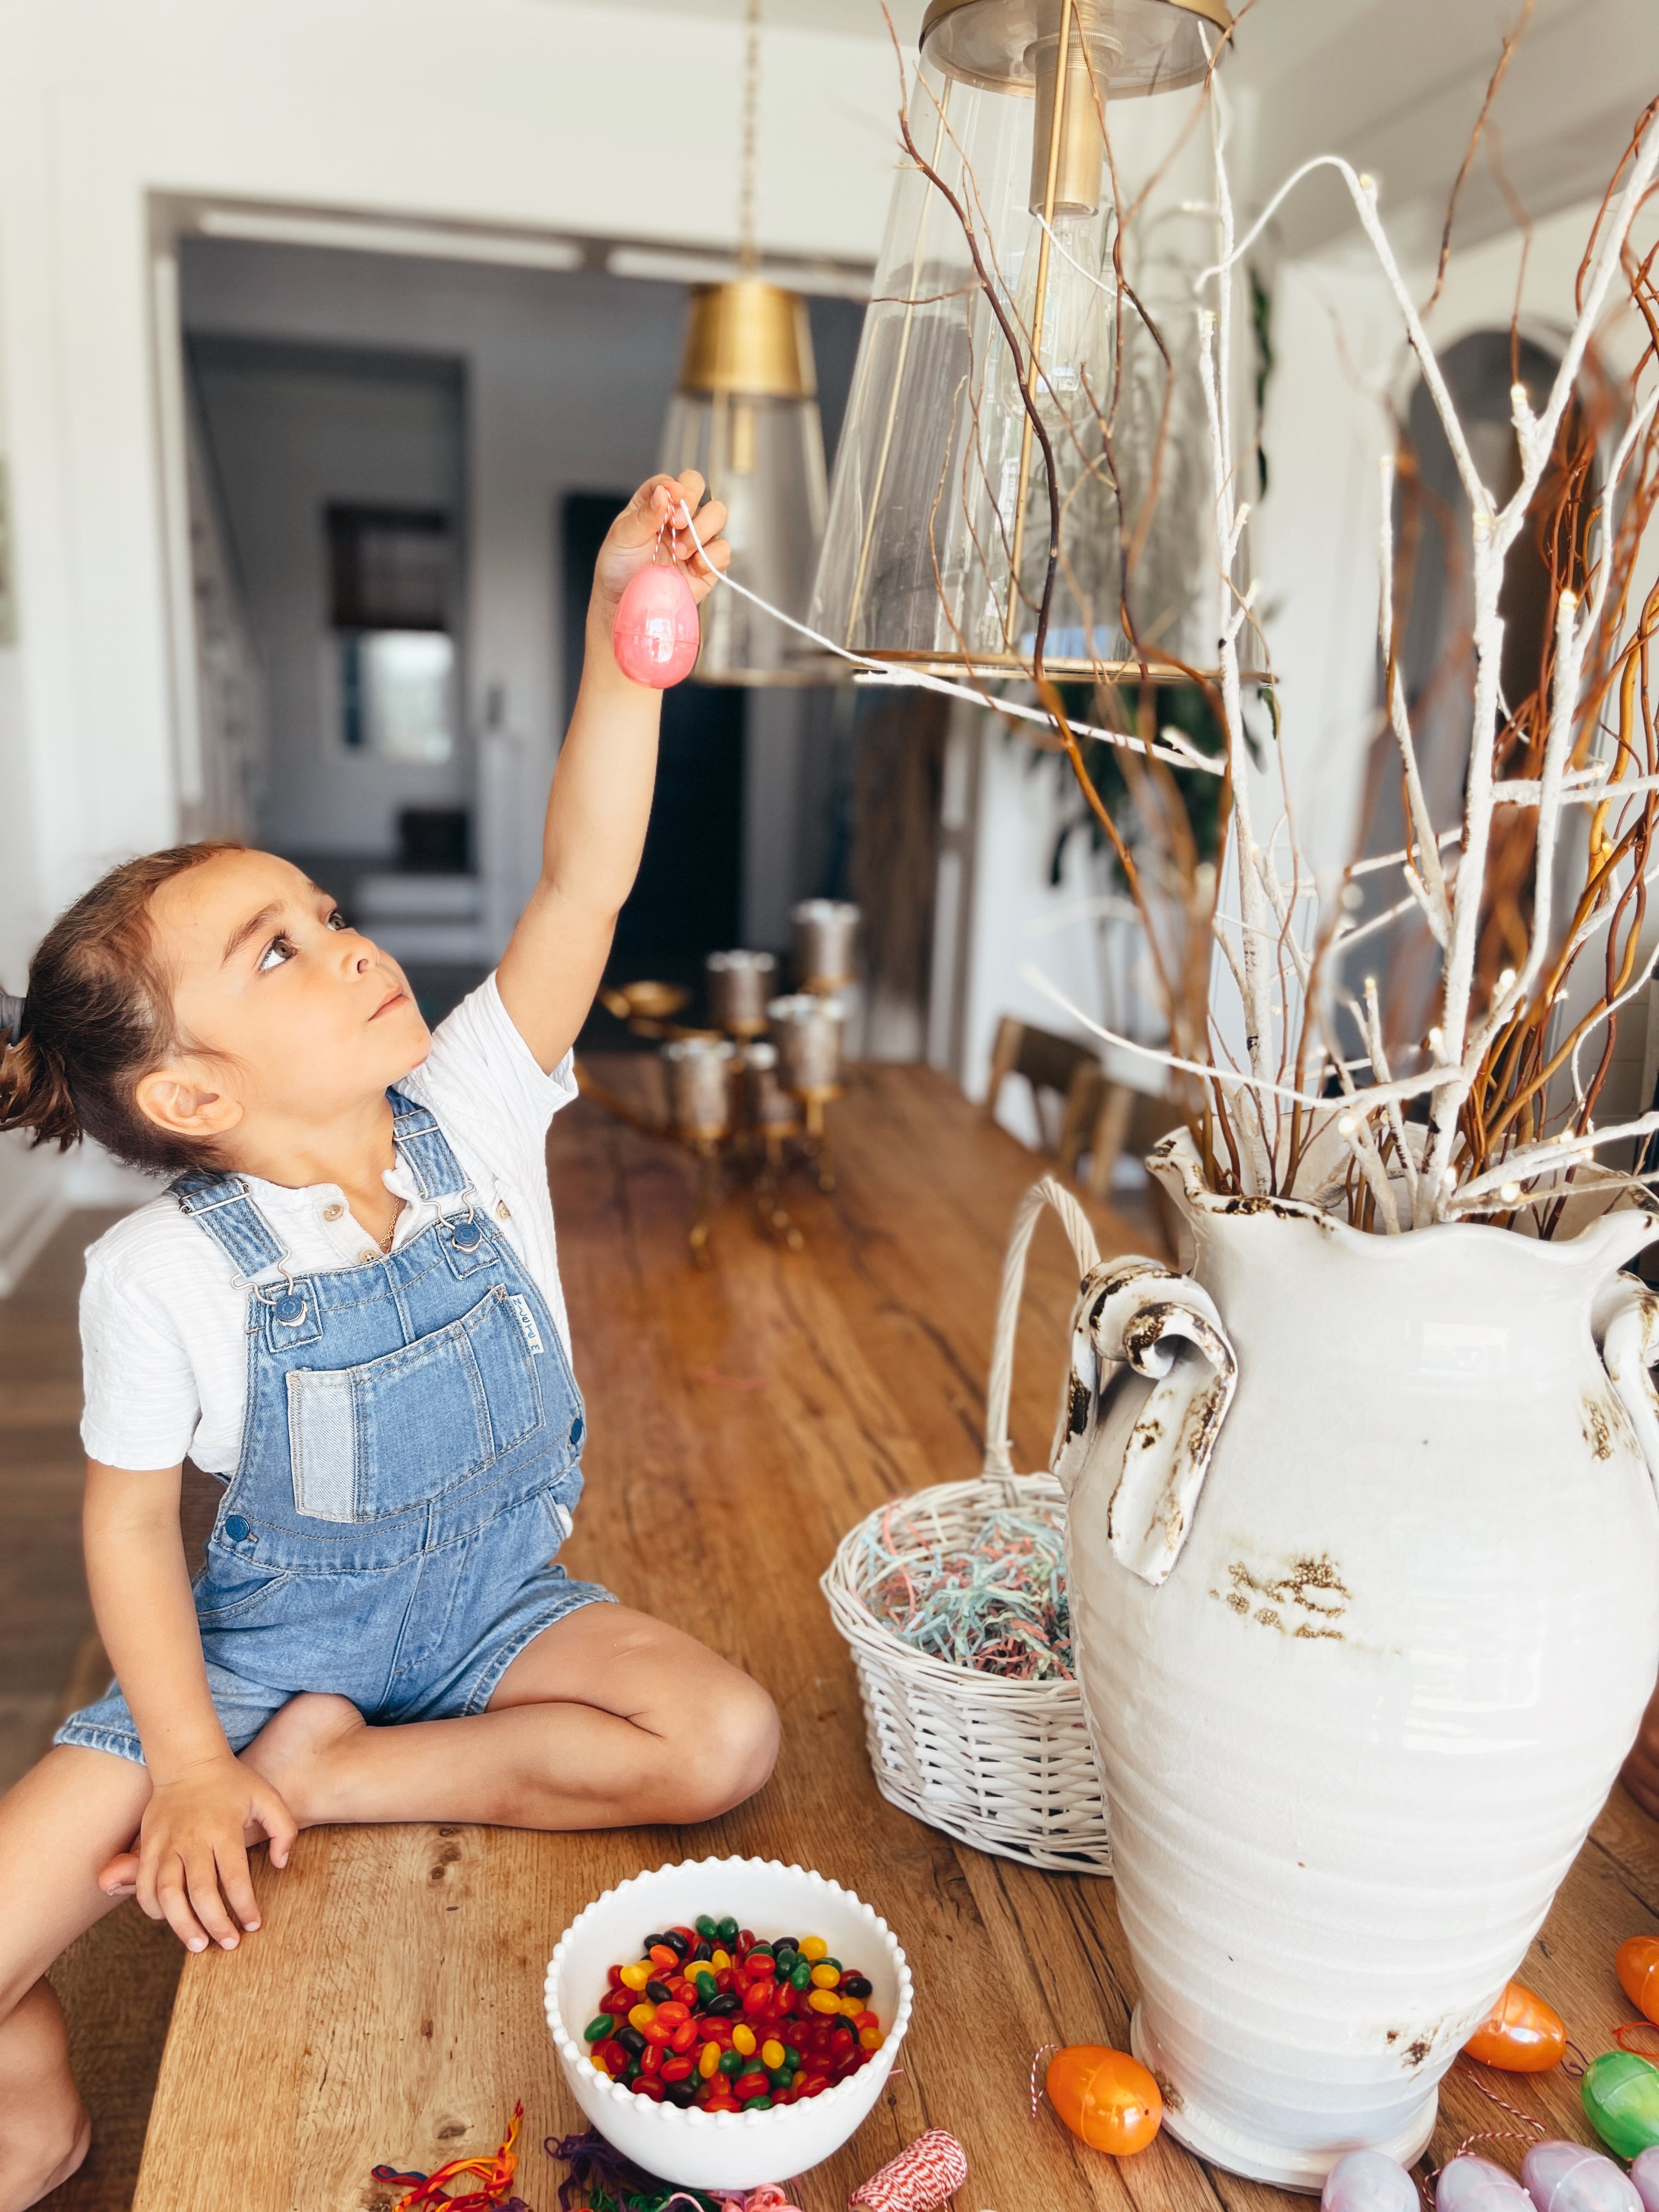
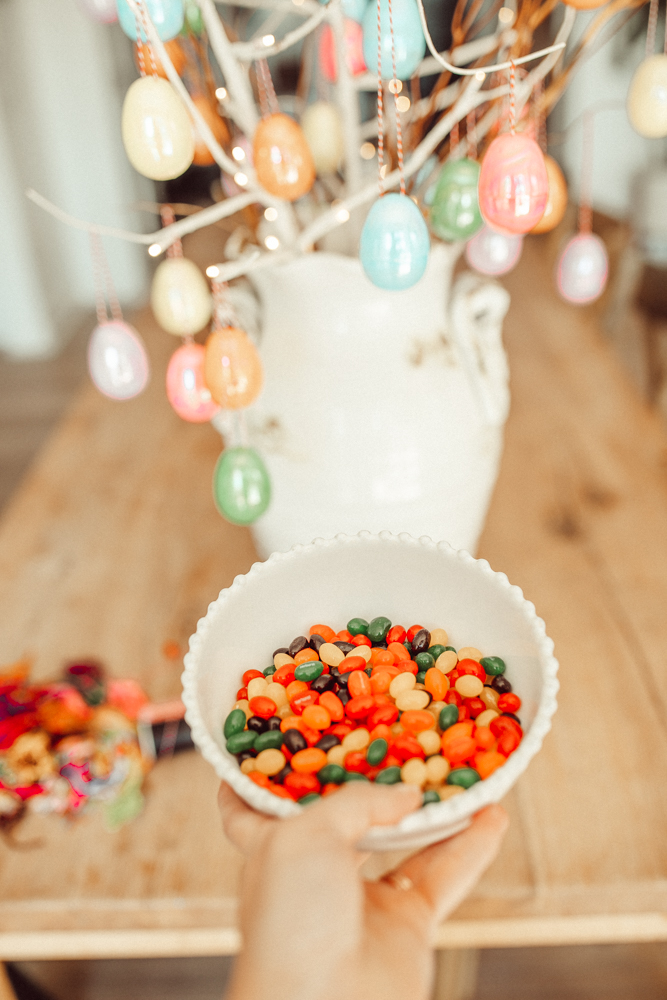
Fill the eggs with the candy of your choice! I know everyone loves chocolate, but we chose jelly beans just to make it easy. (And more colorful!) Let your kids pick their favorite Easter treats—M&Ms, Skittles, Kisses—and fill up your eggs with a mix that makes them happy! On Easter, you can open them all up and eat them! Or use the eggs as a way to count down to the holiday!
Have you listened to my podcast? Check out The Mom Confidential!

Time to Decorate
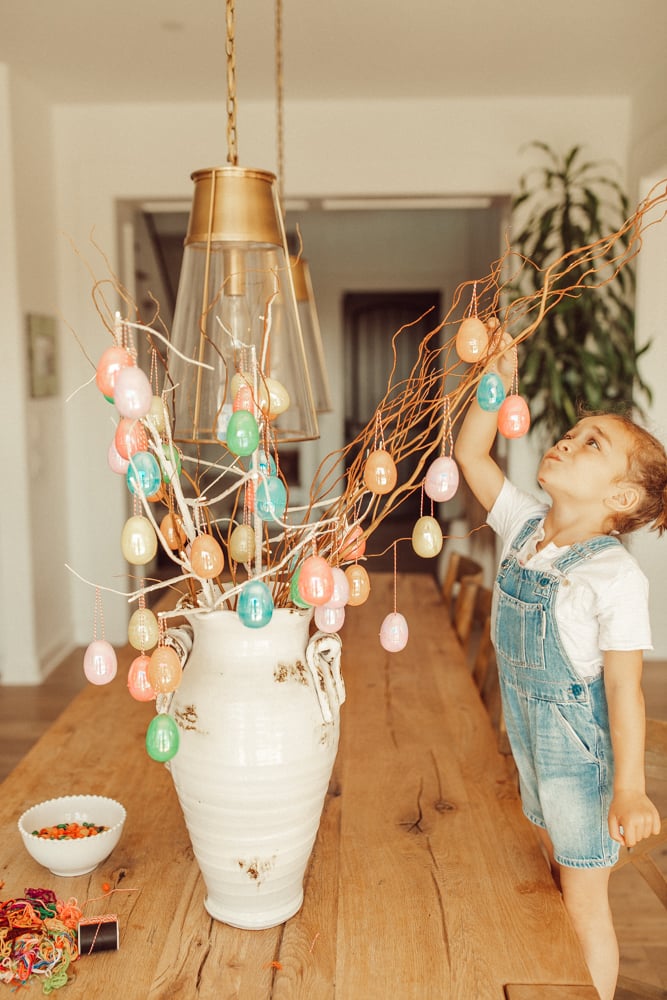
Now you can put everything together! Get your vase and fill it with all of your branches. At this point, you can keep the eggs simple and hang them on the tree, or decorate them first. If your kids are feeling creative, grab some Sharpies or some glitter stickers and add more pizzaz!
When you’re done, you’ll have a sugary-sweet, adorable tree that will look great on the table!
Scholars believe that Easter was named after a festival celebrating the Anglo-Saxon goddess Eostre. Her sacred symbols are thought to have been the hare and the egg.
